Feeling a bit overwhelmed when you first open InDesign? Don’t panic when faced with a screen full of buttons? Today, we’ll guide you through the interface of this design powerhouse step-by-step, just like unpacking a package. It’s similar to familiarizing yourself with your phone’s interface; remember a few key points, and you’ll be ready to get started right away.
First, understand the interface layout: the three main parts are like your workspace.
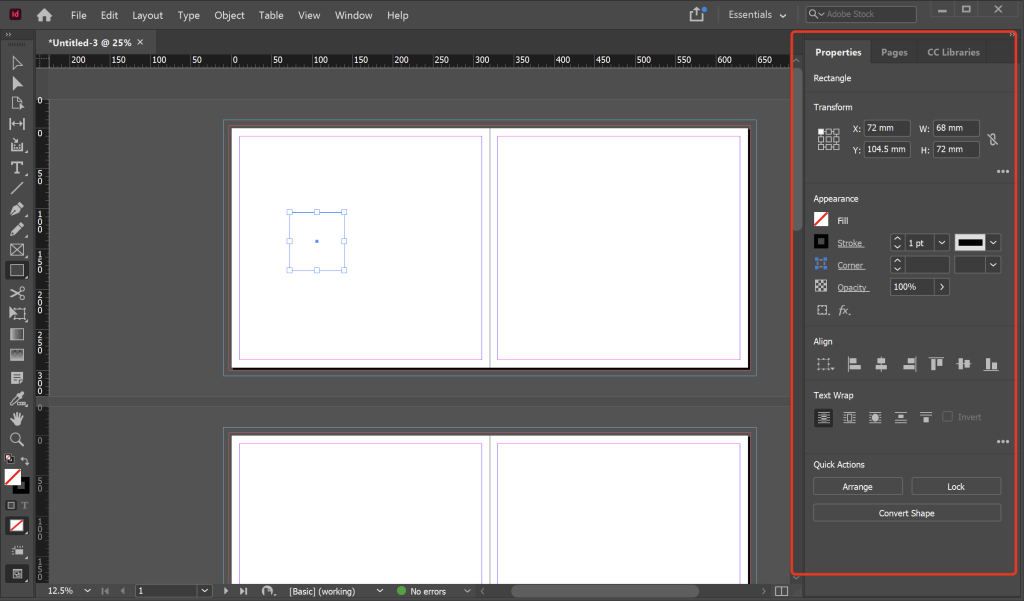
Imagine the table you usually use for crafting: a place to put materials, a toolbox at your side, and a drawer cabinet next to it—InDesign’s interface follows this logic.
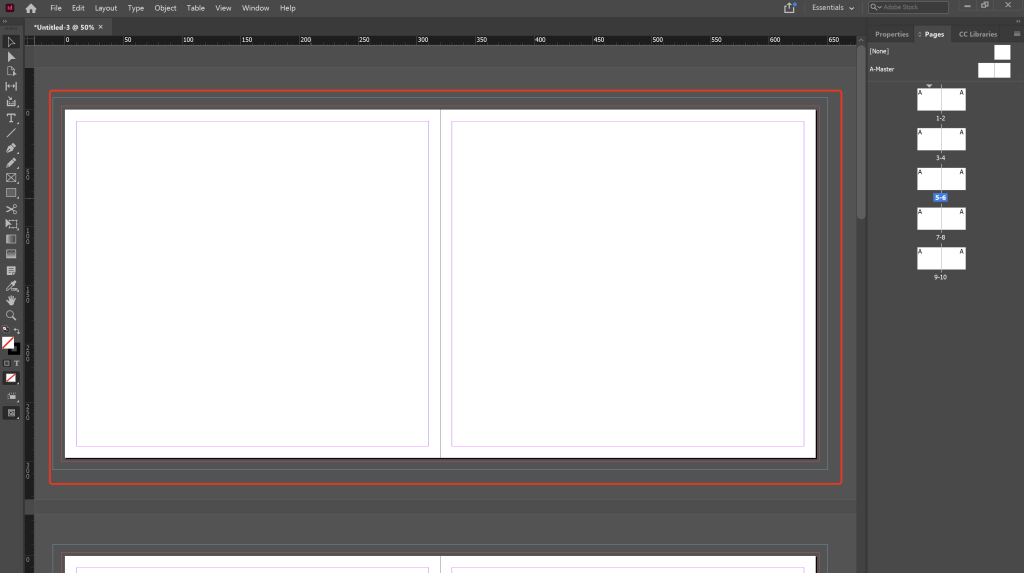
The large whiteboard in the very center is the work area, where all layout work is done.
The large white area in the very center is the workspace, where all layout is done. Notice the gray areas around it; if you place content in the gray areas, the exported PDF won’t export it, only the content in the white areas will be exported. The gray areas can also hold content, including temporary content. Scrolling the mouse allows you to view the layout up and down, and holding down Alt while scrolling zooms in and out, just like adjusting a browser window.
Menu bar
The “File” and “Edit” menus at the top are like kitchen cabinets; you don’t use them often, but you can always find the functions you need when it’s crucial.
toolbar
The top black arrow is the selection tool (shortcut key V). It’s used to select text boxes and images; you can also resize the object by dragging its corners. The third “T” icon from the bottom is the text tool (shortcut key T). Clicking it in the workspace allows you to type, making it the essential tool for layout software.
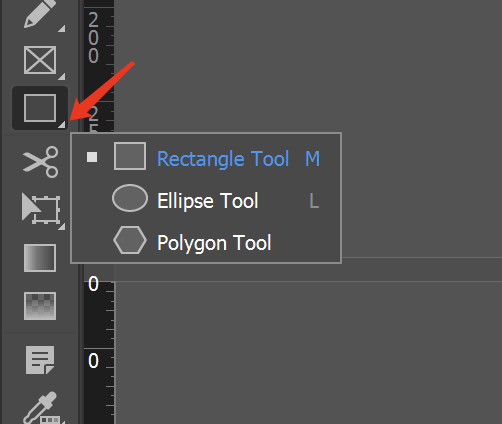
By the way, the tool icons with a small triangle in the lower right corner all hide “tool groups”. For example, next to the pen tool, there is an anchor point tool. You can right-click to expand it, just like the hidden menu in a mobile app
Control Panel/Properties
Here, when you draw a shape using the tools on the left, the corresponding attributes will appear on the right, allowing you to change things like color and size.
Customize your workspace with this panel
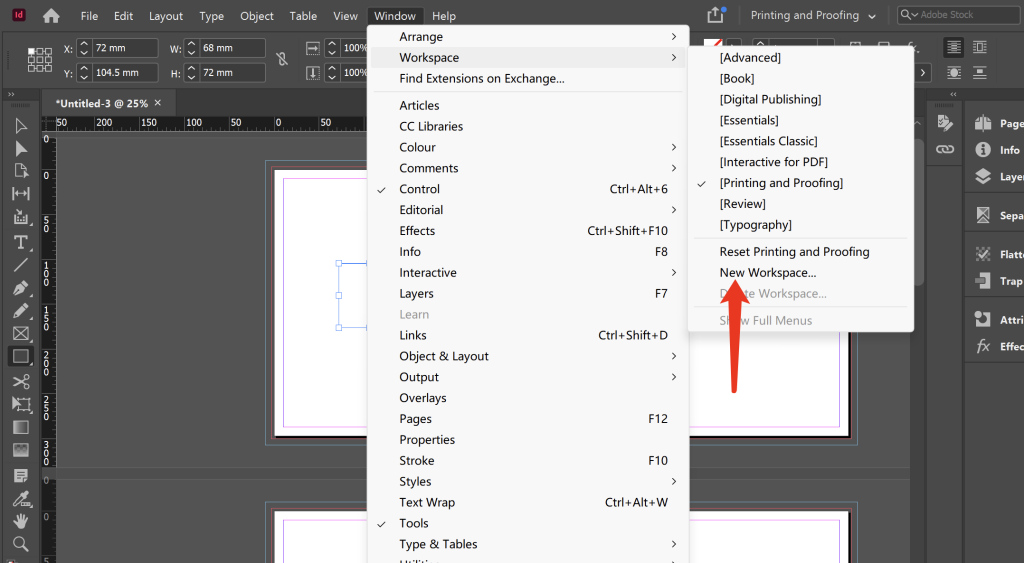
Using an inconvenient tool interface is like wearing shoes that don’t fit. Fortunately, InDesign allows you to drag and organize all your tools and property panels. You can adjust the interface layout to your liking, such as dragging tools to the right, etc. Then go to Window → Workspace → New Workspace, arrange the frequently used panels, and save it. The next time you open it, it will be your own custom layout.
Skill
Here’s one of my exclusive tips: Hold down the Alt key and drag the panel to quickly create a new copy. For example, when adjusting colors, opening two “swatch” panels simultaneously makes comparing colors incredibly convenient!
Three life-saving tips, a must-read for beginners
Double-clicking the hand tool (hand icon) automatically resizes the page to fit the window, eliminating the need for tedious zooming to find content.
Holding down the spacebar temporarily transforms the tool into a hand, allowing for highly flexible page movement; releasing it reverts it to its original state.
If you can’t find a function, simply press Ctrl+F (Command+F for Mac users) to bring up the search box, enter keywords, and locate it instantly.
InDesign is like a patient and easy-going master; the more familiar you are with it, the smoother it becomes. Don’t try to memorize all the buttons at first; just master the three areas we discussed today, and creating a simple flyer will be no problem. Next time, we’ll talk about the intricacies of text layout. Remember to like and save this post; practicing along with it next time you open the software will be more effective than reading ten tutorials!
Comments0